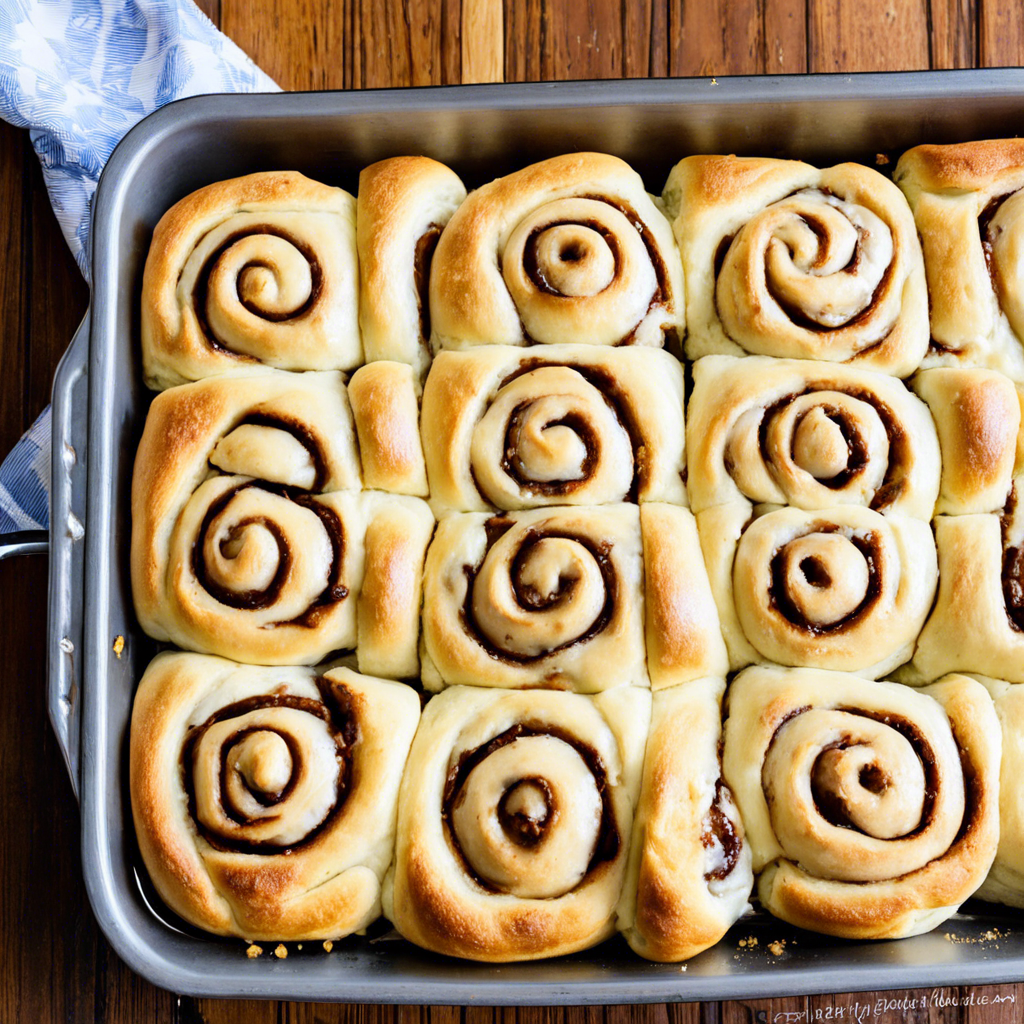
Bisquick Cinnamon Rolls: The Ultimate Guide to Making These Delectable Treats
Cinnamon rolls are a beloved breakfast treat, and with Bisquick as your base, you can easily craft homemade cinnamon rolls that are sure to impress. Bisquick, a pre-mixed blend of flour, baking powder, and shortening, simplifies the baking process, ensuring that even novice bakers can create delicious pastries. This guide will take you through the process step-by-step, offering helpful tips and tricks to ensure your Bisquick cinnamon rolls turn out perfectly every time.
The beauty of Bisquick cinnamon rolls lies in their simplicity and the ability to customize them to your taste preferences. You can adjust the amount of cinnamon and sugar in the filling to suit your sweet tooth, and even experiment with additional ingredients like raisins or nuts for an extra indulgent treat. The dough itself is a breeze to work with, requiring no yeast and minimal rising time, so you can have fresh, homemade cinnamon rolls on your table in under an hour.
To start, preheat your oven to 425°F. In a large mixing bowl, combine 2 and 1/4 cups of Bisquick with 1/2 cup of milk and 2 tablespoons of sugar. Stir the mixture until a soft dough forms. If the dough seems sticky, you can add a small amount of additional Bisquick until it becomes manageable. On a lightly floured surface, knead the dough gently for about 10 times, just enough to bring it together.
Now, roll the dough into a rectangle approximately 1/4 inch thick. You can use a rolling pin to achieve the desired thickness. Once rolled out, spread melted butter generously over the surface of the dough, making sure to reach the edges. Next, it’s time for the cinnamon filling. In a small bowl, mix together 1/4 cup of sugar and 1 teaspoon of ground cinnamon, or adjust the measurements to your taste. Sprinkle the cinnamon-sugar mixture evenly over the buttered dough.
Carefully roll the dough into a log, starting from one of the longer sides. Cut the log into 8 equal pieces, each roughly 1 to 1 and 1/4 inches thick. You can use dental floss or unflavored thread to ensure clean cuts without squishing the rolls. Place the rolls cut-side down into a greased 8-inch square or round baking pan.
Bake the cinnamon rolls for 15 to 18 minutes, until they are golden brown. While the rolls bake, prepare the icing by mixing 1/2 cup of powdered sugar with a few teaspoons of milk to achieve a drizzling consistency. When the rolls are done, let them cool slightly before drizzling the icing over the top. Serve warm and enjoy the fruits of your labor!
These Bisquick cinnamon rolls are perfect for a lazy weekend breakfast or as a special treat for guests. You can also double the recipe and freeze half of the unbaked rolls for another time. Simply place the unbaked rolls on a baking sheet and freeze until solid, then transfer them to a freezer bag. When the craving strikes, take out the desired number of rolls and let them thaw and rise for about 30 minutes before baking as usual.
The key to success with this recipe is ensuring your oven temperature is accurate and not overworking the dough. Feel free to experiment with different fillings and icings to find your favorite combination. You can also try adding a twist to the classic cinnamon roll by incorporating ingredients like apple butter, pumpkin puree, or even a cream cheese icing for a truly decadent experience.
Whether you’re a seasoned baker or a beginner, Bisquick cinnamon rolls are a delightful project that will fill your home with the irresistible aroma of cinnamon and warm, freshly baked pastry. So, tie your apron, gather your ingredients, and get ready to indulge in the ultimate comfort food that’s sure to impress your taste buds and those of your lucky guests! Happy baking, and enjoy every bite of these mouthwatering treats!
Remember to share your creations and tag The Washington Post and BuzzFeed News in your delicious endeavors! Happy baking, and enjoy the sweet rewards!

