Crafting the perfect garlic bread is an art, a delicious and aromatic art form that can elevate a simple meal to new heights. It is a side dish that is simple yet so satisfying, and with a few tips and tricks, you can create an impressive and flavorful version at home.
First, select your bread wisely. The type of bread you use will greatly impact the final result. A crusty, chewy bread like a baguette or ciabatta works beautifully as it has an open, airy texture that will crisp up nicely in the oven without becoming too hard. A softer, fluffier loaf tends to become soggy and doesn’t hold up to the butter and oil mixture as well.
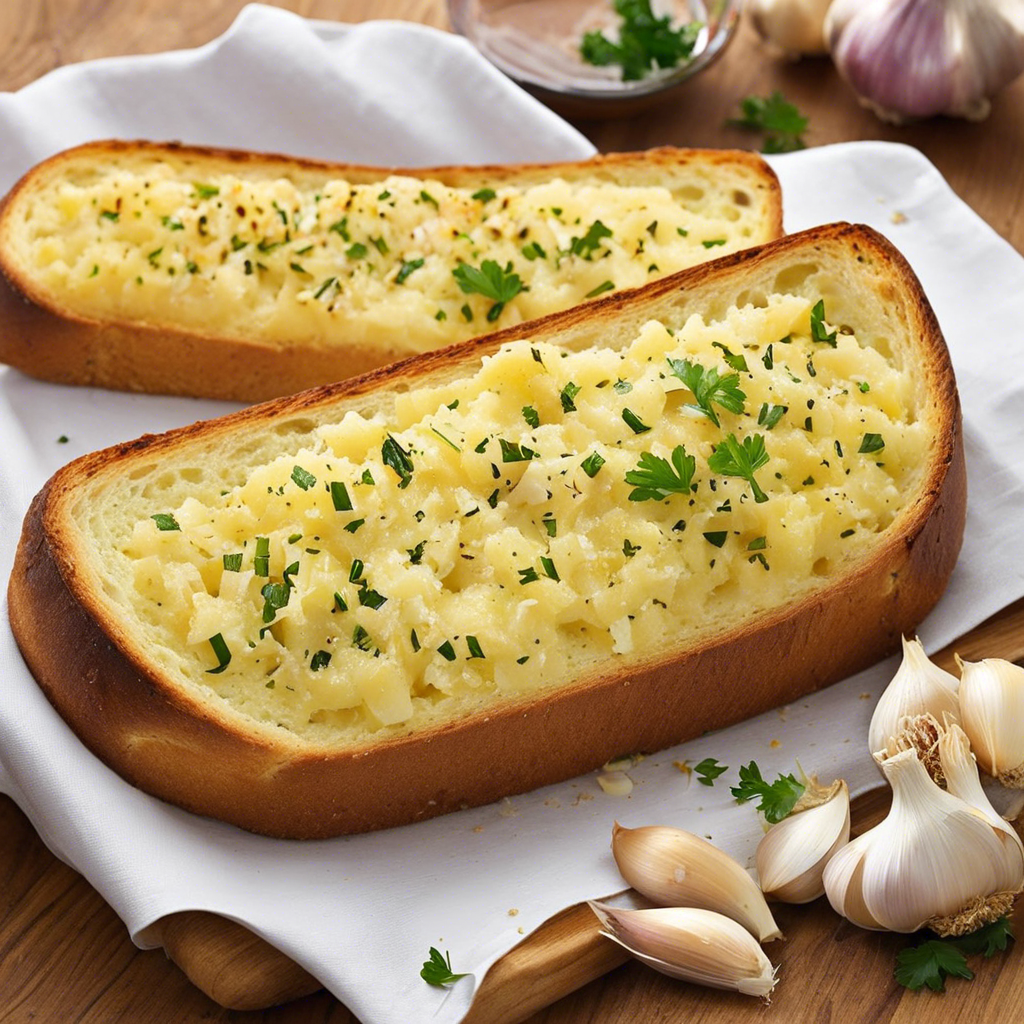
Now, on to the star ingredient: garlic. You want to use fresh, good quality garlic cloves that are firm and unwrinkled. The amount of garlic you use depends on your preference, but generally, a ratio of about two to three cloves per stick of butter is a good starting point. Crush or mince the garlic finely, as large pieces can be overpowering and unpleasant to bite into.
Preparing the garlic bread is a straightforward process. Combine softened butter, the garlic, and some olive oil (for extra flavor and moisture), and mix until you have a homogeneous, spreadable paste. You can also add in some chopped fresh parsley and a pinch of salt and pepper to taste. Then, slice your loaf of bread lengthwise, without cutting all the way through, so it opens up like a book. Spread the garlic butter generously over the cut surfaces of the bread, making sure to get it into all the nooks and crannies.
Preheat your oven to a moderately hot temperature, somewhere between 350-375°F. Place the prepared bread directly on the oven rack, with a baking tray positioned on the lower rack to catch any butter or oil that drips. Bake for about 10-15 minutes, keeping a close eye on it to ensure it doesn’t burn. You want the bread to be toasted and golden, with a crispy exterior and a soft, buttery interior.
For an extra hit of flavor and texture, sprinkle a little grated parmesan cheese over the bread before baking. This adds a salty, savory note that pairs wonderfully with the garlic. Once baked to perfection, remove the garlic bread from the oven and cut into slices. Serve immediately while it’s still warm and the butter is melted for the ultimate side dish to your favorite pasta or as a snack on its own.
Now, if you want to take your garlic bread game up a notch, there are a few fun variations you can try. One option is to stuff the bread. Simply slice the loaf horizontally into two or three layers, spread the garlic butter, and then layer on some shredded mozzarella cheese, chopped sun-dried tomatoes, or even crispy bacon bits. Close the layers back up like a sandwich, wrap in foil, and bake until the cheese is melted and gooey. Unwrap and slice into thick, indulgent pieces.
Another fun twist is to make garlic breadsticks. Cut the loaf of bread into long strips, spread or dip them into the garlic butter, and then twist and stretch the strips slightly before baking. This creates crispy, chewy breadsticks that are perfect for dipping into soups or sauces.
For a more rustic, hearty option, try using a thick-sliced, country-style bread. Cut it into thick slices, spread the garlic butter on both sides, and then toast it on a hot griddle or skillet until charred and crispy. This version is perfect for serving with grilled meats or as a base for bruschetta.
Finally, don’t be afraid to experiment with different herbs and spices in your garlic bread. Try adding some crushed red pepper flakes for a kick, or mix in some chopped basil or oregano for a more complex flavor profile. The beauty of garlic bread is its versatility, so have fun and get creative in the kitchen!
With these tips and techniques, you’ll be well on your way to crafting garlic bread that will impress your family and friends and take your meals to the next level. So, preheat that oven, grab your butter and garlic, and get ready to indulge in one of the simplest yet most satisfying side dishes out there!
I hope this article was helpful and provided you with some delicious inspiration!